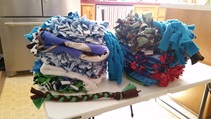
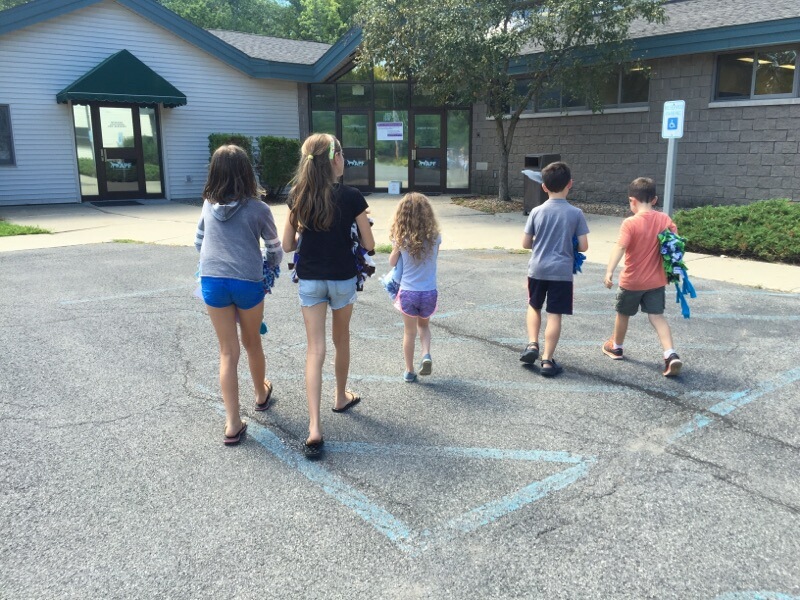
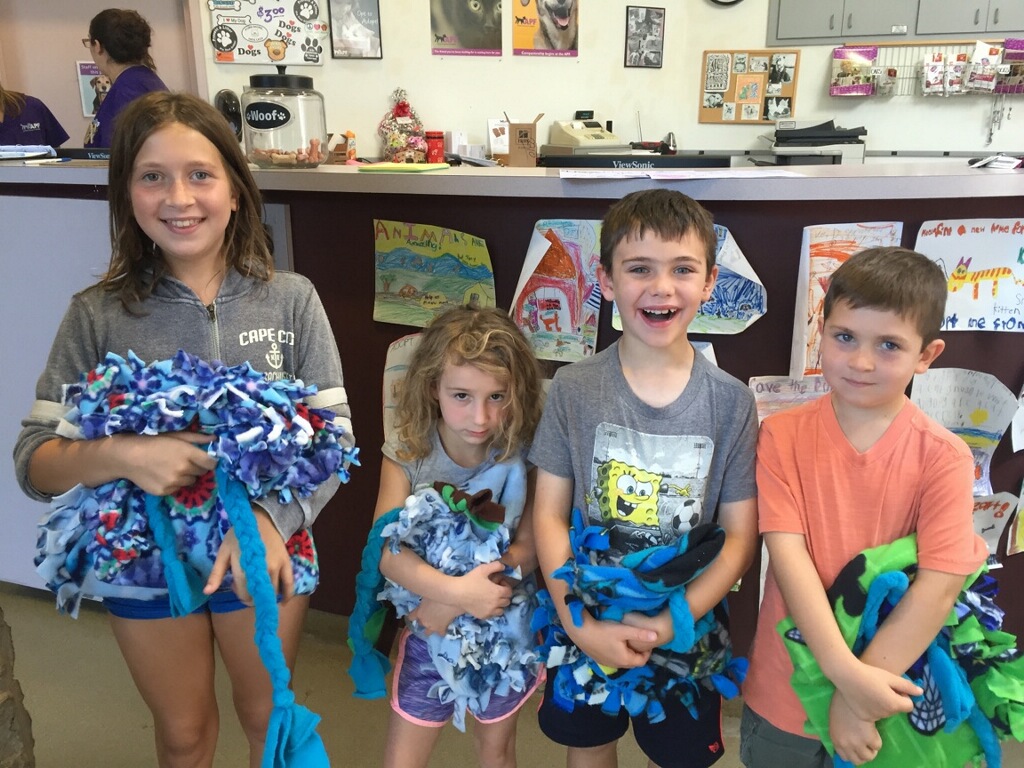
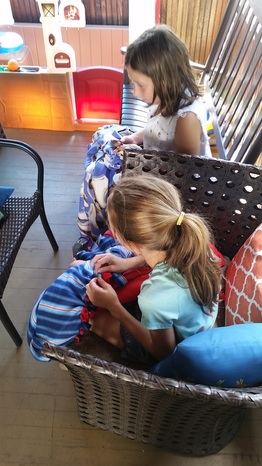
 Summer is coming to an end and we are trying to cram in as much fun as possible before we hit the books. Ms. Kristy has been taking the older children on some wonderful field trips around the community, to see movies, grab ice cream and even visit a local shelter. Garage sale finds are a great resource in child care. They help us create new projects on a tight budget. Upon scouring these garage sales we found a HUGE lot of fleece fabric and scooped it right up. The kids had a blast making these no sew fabric blankets for days! Even our 3 & 4 year old friends helped tie knots in them. A wonderful fine motor practice skill. By the time we were done we had over 20 blankets! The children took a vote and decided they wanted to donate these blankets to a local shelter (or 2) and worked hard using even the littlest scraps to make rope toys for the dogs. On Thursday the kids delivered their blankets to the dogs and cats at the Animal Protective Foundation.
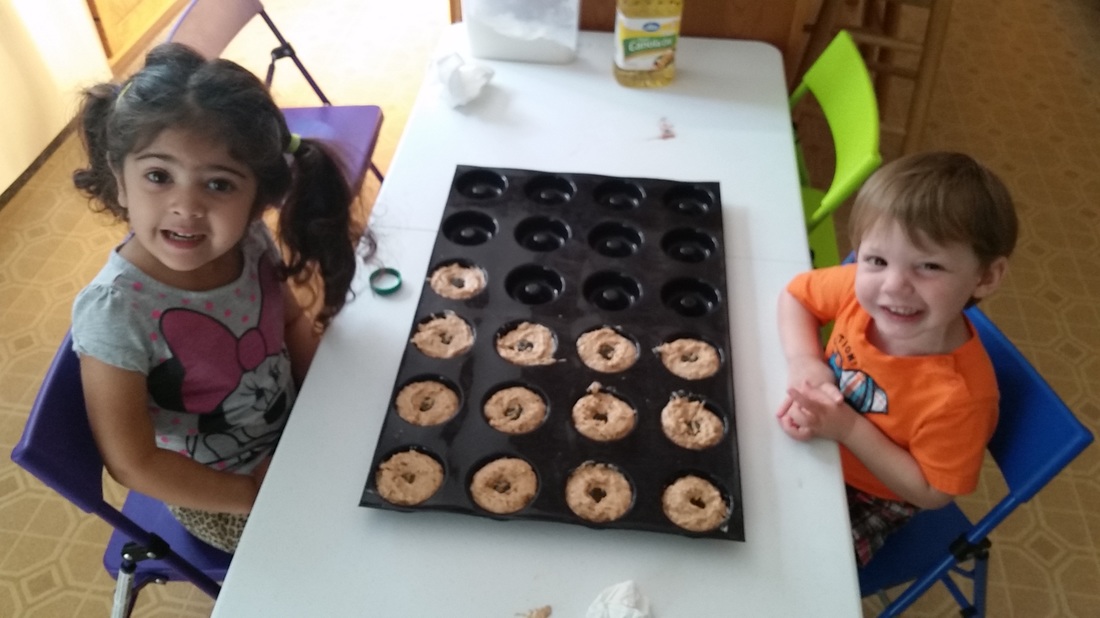
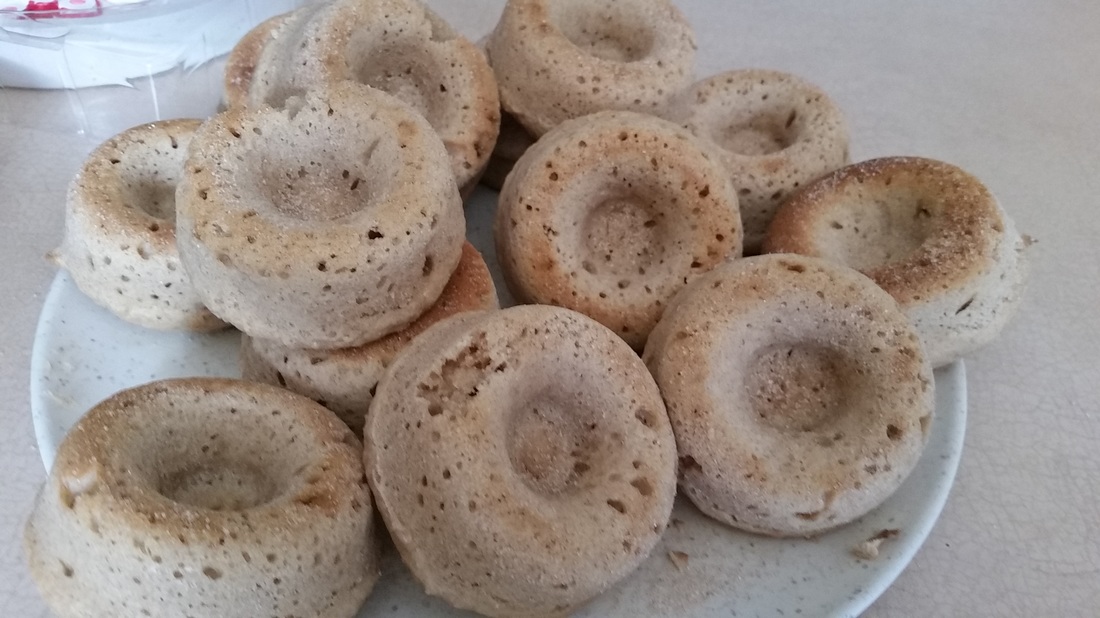
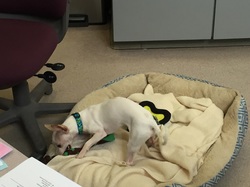 The kids were so excited to help our community all by themselves. Next week Ms. Bridget will be dropping off the second set of blankets to the Montgomery SPCA! As you can see, the pups of APF are already enjoying our homemade toys. This week's cooking project was a big hit! The kids got to make homemade baked vanilla donuts. It was really cool to squeeze the pastry bag and pipe our donuts into the pan. We might have filled them a bit too high because when they cooked they ended up looking more like donut muffins than actual donuts.... Here's the recipe if you'd like to try them at home. We left out the glaze to keep them a little more healthy. Baked Vanilla Donuts Ingredients: For the Donuts 1 c all-purpose flour 6 tbsp white sugar 1 tsp baking powder 1/4 tsp cinnamon 1/2 tsp salt (I omitted) 6 tbsp buttermilk 1 egg 1/2 tsp vanilla extract 1 tbsp butter, melted Yields: 6-7 donuts. Pans vary by size but this is not a “huge” recipe. Double or triple, or halve (beat the egg and then divide in half) the recipe as desired. For the Glaze 1/2 c (or more) powdered sugar 1/2 tsp vanilla extract (use more if you like a stronger vanilla flavor) 1-2 tsp Water, Milk, Half & Half, Cream, Heavy Cream, Vegan Milk, Coconut Milk, etc. (I used half & half) Directions: For the Donuts Pre-heat oven to 325 degrees and lightly grease or cooking-spray the donut pan (or muffin tin). In a large bowl, mix together flour, sugar, baking powder, cinnamon (and salt). Add buttermilk, egg, vanilla and melted butter. Whisk or stir to combine. Use a pastry bag fitted with a large round tip (or a Ziploc bag with a corner cut off) to pipe the batter into a 6-donut pan. Or just be extra neat and do this with a spoon which is what I did. Bake 8 to 11 minutes in the preheated oven, until doughnuts spring back when touched or until dough is set. Donuts will not be golden brown, but should be springy. (I always underbake my baked goods but in my oven these took 10-11 minutes to set up) Allow to cool slightly before removing from pan, about 5 minutes. For the Glaze While donuts are baking or cooling, make the glaze by combining powdered sugar, vanilla extract, and liquid of your choice. Add the water or milk, one teaspoon at a time, until desired consistency is achieved. Dip the donuts into the glaze while warm (or cool). Add sprinkles or other extras at end as desired.
0 Comments
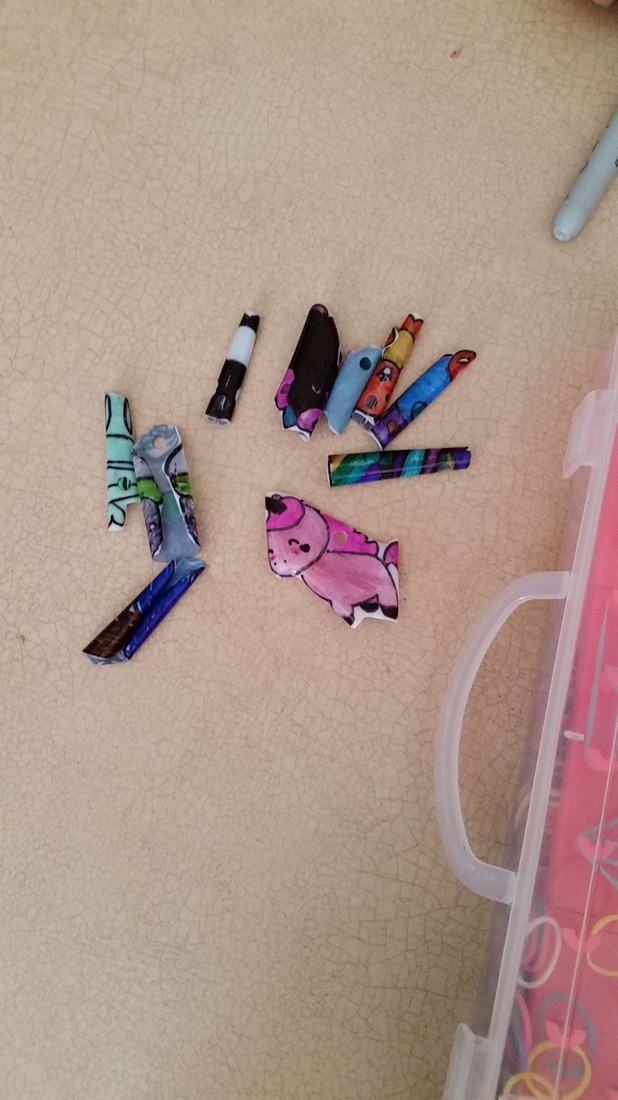
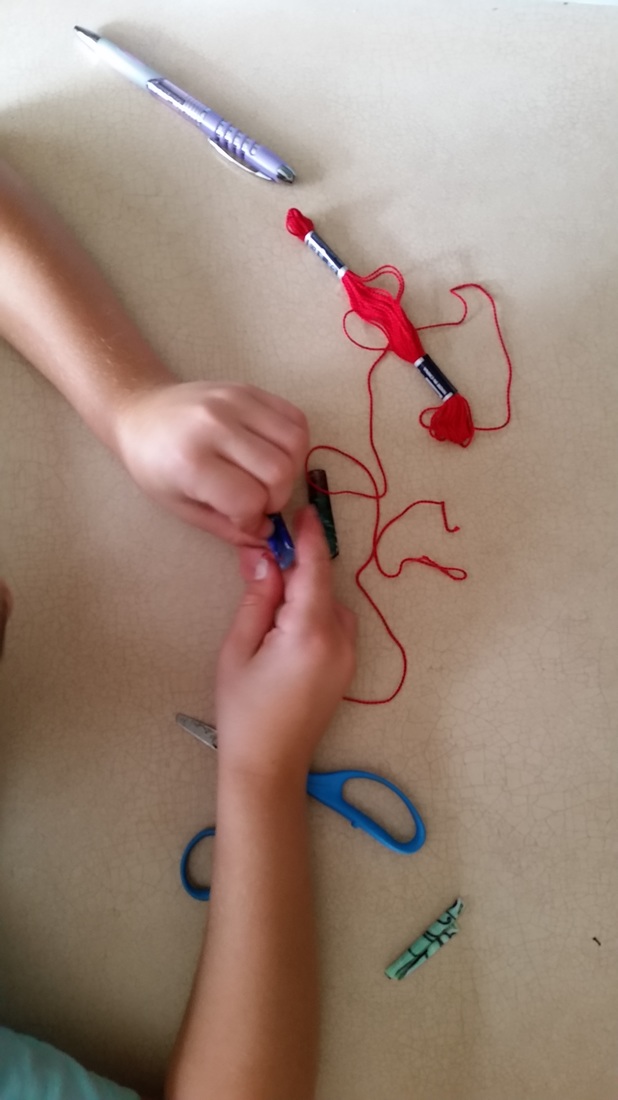
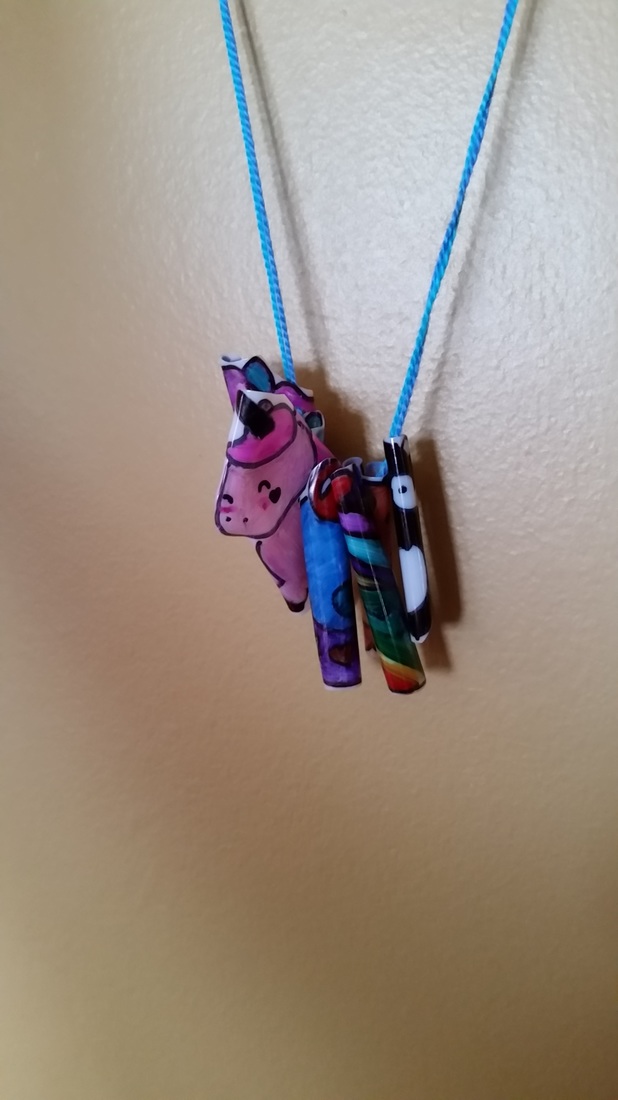
How many times have your children come home with their finished art projects? So proud of their hard work these projects usually represent a well executed, fridge ready product. Well sometimes, these projects don't go according to plan, sometimes they don't work as expected, don't look as we the teachers wanted, and sometimes they are down right disasters. This is the story of one of these failures. We have been scouring the internet looking for fresh, different, open ended projects for the kids to do this summer so when we came across this one we were super excited. I mean what is more fun than homemade shrinky dinks? We all remember how excited we would get watching our creations curl up and shrink right before our eyes. What was even better about this activity, it used recyclable materials. A lesson inside a lesson, a teacher's dream! We cut out our designs on our recycled to-go containers, the kids colored away for what seemed like hours (about 10 minutes in real time) and we got ready to stare at the stove and watch the magic. 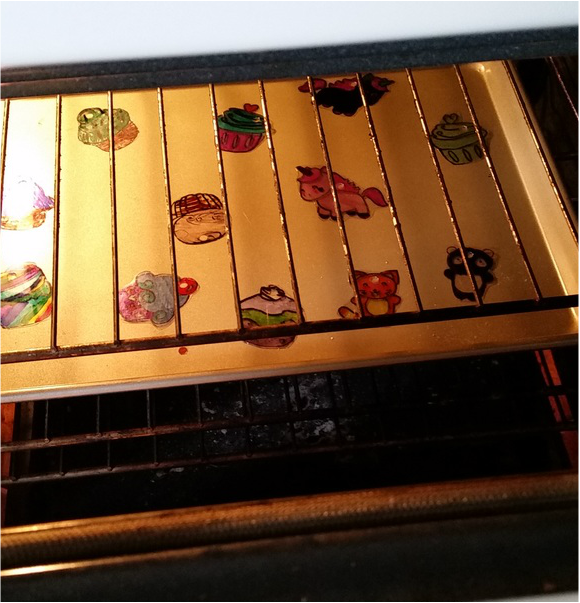 The children waited anxiously as the shrinky dinks curled up just like they were told they would, and even more anxiously waited for them to uncurl and shrink........and waited....and waited........and waited. The problem? They never uncurled. They got harder, and harder but stayed in their little rolls until we decided it wasn't going to work. We did, however get a good science lesson on the qualities of different grade plastics. But even after this big disappointment did the children give up on this project? NO! They took one look at those colorful plastic rolls and they pulled out some string and they made necklaces! Ahh to see life through the eyes of a child.
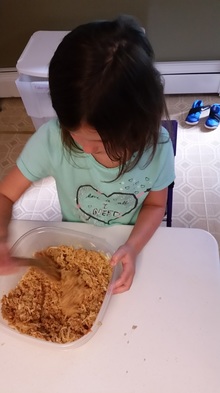
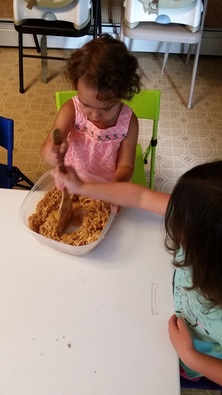
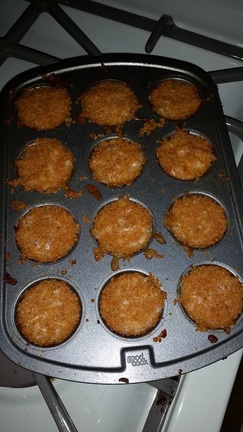
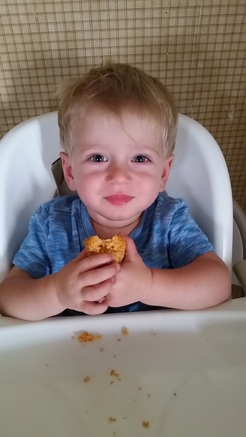
So, after this failure in our pockets we needed to make sure our next project was a complete success. We pulled a cooking project for this week that has been tried and tested in Ms. Bridget's own kitchen and we knew would work exactly as planned. We have been playing with our menu and wanting to add some new grains and recipes. Introducing new foods to children is always tricky, so we were eager to see what they thought of these Quinoa Bites. We are happy to announce they were a HUGE success! Almost all of the children ate these in multiples and the entire tray was gone! This recipe is great because it can be changed and doctored up any way that pleases your family. As long as you have the quinoa, egg and cheese to bind you can add any fillings you want! Turn them into lasagna bites with some browned hamburg and ricotta, try an alfredo sauce with some chopped broccoli or peas, or turn it into a taco bite with some cheddar and seasoned meat then top with a dollop of whipped cream and salsa. The possibilities are endless! For our first run we kept it simple, a little tomato sauce, mozzarella, parmesan, and light salt and pepper.
Here is the original recipe we adapted this project from Quinoa Bites
So easy, and as you can see......a real crowd pleaser!
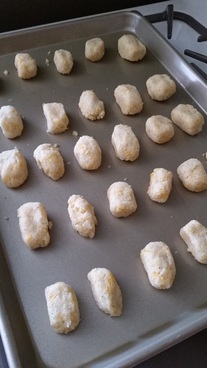
We've been working on a lot of changes here at The Giving Tree! Not only are we still working on our new website but we also started using Digital Daily Sheets. This feature allows parents to log into their account and check on their child's day while they are at work. At the end of each day they will receive an email with a summary of their child's day. This is allowing us to save not only paper and ink but be more connected to our families. We can send pictures and messages through the portal and allow parents to be closer to their children while they are in care. We've also done some work on our outside area. The children have been having a great time playing on their new play area. One of the children even entitled it The Giving Tree "park." 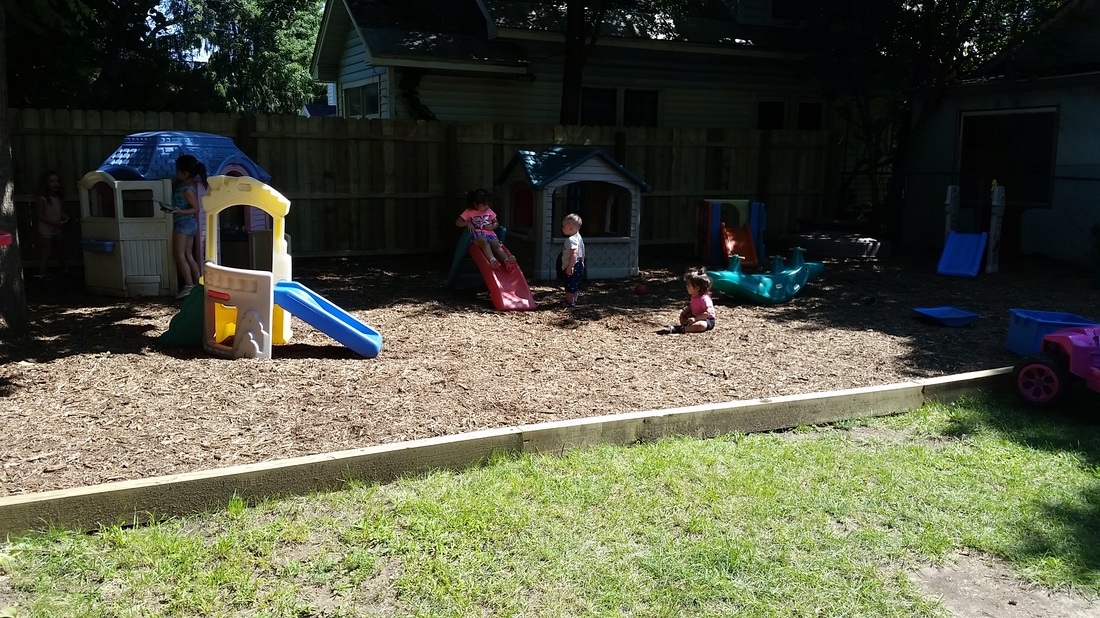 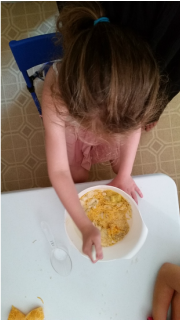 Last week the school age children got to enjoy an outing to the movies with Ms. Kristy. They all had a great time. Today during our Kids in the Kitchen activity we made homemade Cauliflower Tater Tots. The children were very unsure about this one. We talked about the strong smell of the cauliflower and who liked to eat it and who didn't. They got to watch Mrs. Bridget grind the cauliflower in the food processor and then they all took turns pressing the water out of it. There was a LOT of water! Then we mixed all the ingredients together, taking care to use our special measuring cups to get the exact amounts we needed. Shaping them into tater tot shapes was definitely their favorite part. These definitely weren't the kids favorite food but the teachers thought they were delicious! Well at least they had fun making them. Cauliflower Tater Tots INGREDIENTS
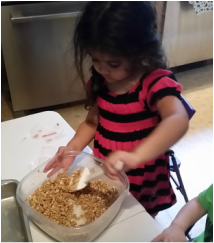
OH! Remember our art project mural from last week? We created this beautiful scene on top of it using ripped paper (great project for fine motor development). Didn't it turn out great! 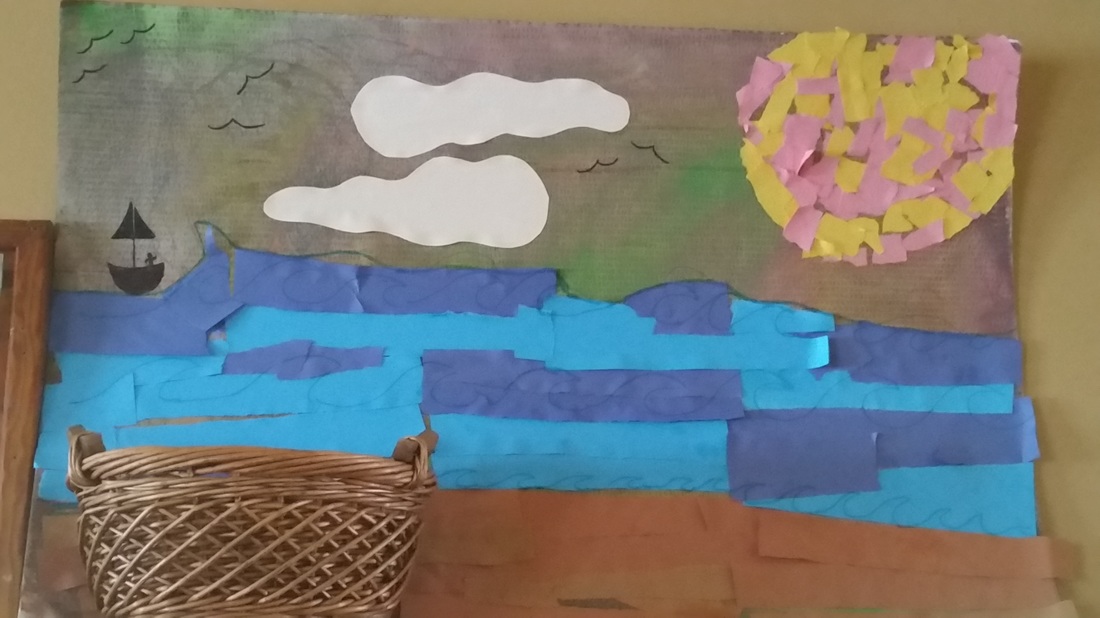 So we sat in the house but we most certainly didn't do nothing at all! What a busy Monday we've had here at the Giving Tree. This summer has been nice and quiet allowing us to really do some great activities with the older children. For the last few weeks we have been expanding their tastes and palates by cooking with them. Cooking with children encourages them to have a hand in what they eat and it is proven they are more likely to try new things if they help to make it. So far we have made homemade apple muffins, homemade applesauce, fresh refrigerator pickles and today the kids helped make homemade healthy granola bars! Each week we will share the recipe for our cooking project here so you can try it at home!
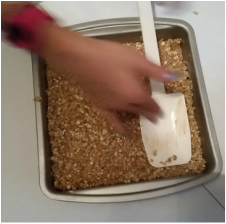
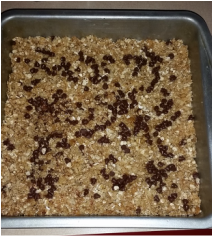
No Bake Granola BarsINGREDIENTS:
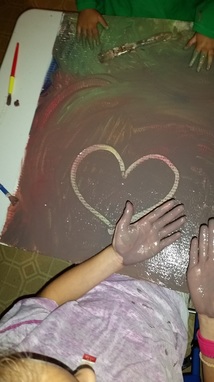
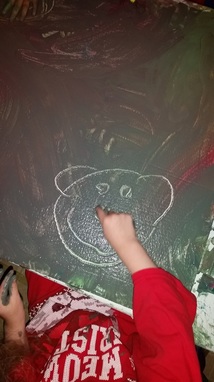
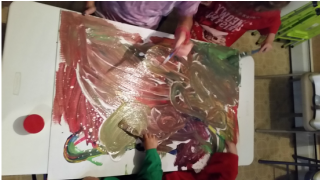 Two hours is a long time to wait to dig into our granola bars, so while we were waiting we pulled out a large piece of cardboard we found and decided to do some mural painting. We dropped large dollops of different colored paint all over the cardboard and the kids used paintbrushes and their own hands to spread the paint all over. They mixed colors and found out that too many colors mixed together made a very yucky brown color. It wasn't pretty, but after a little more exploring we found it made a really good writing tablet!
We used it to practice our letters, make faces and doodle pictures. It was a lot of fun, and a BIG mess! When we wrote in the paint we realized that the colors underneath were really pretty. We decided to do a little experiment and took some paper towels to clean off the excess paint on the surface. What we found underneath was a mural of beautiful colors! 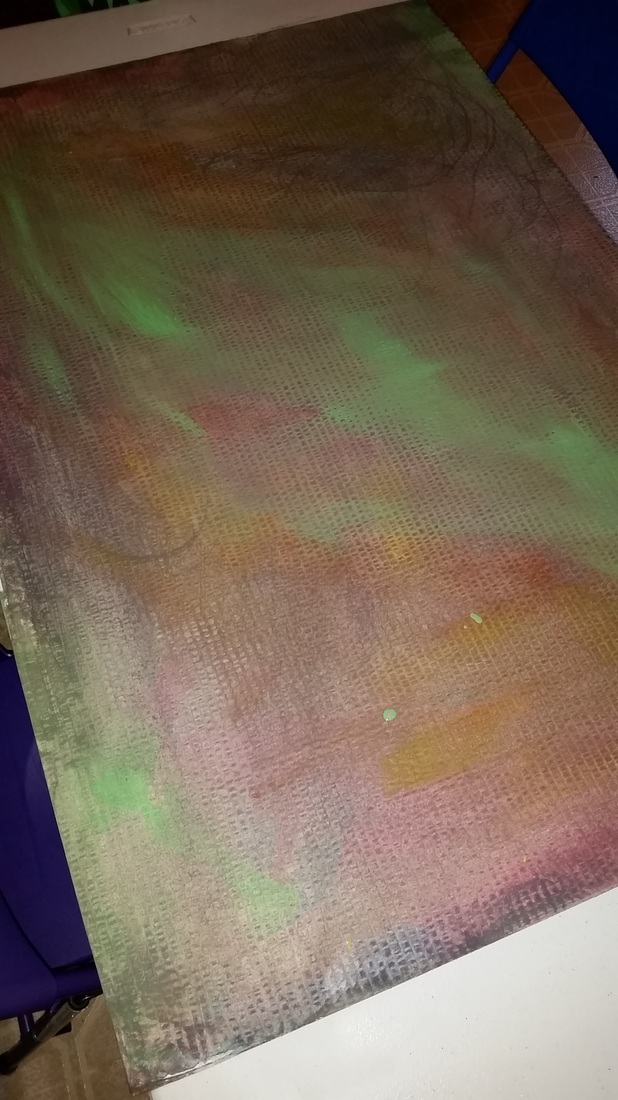 Tomorrow we are going to take our cardboard surprise and turn it into something wonderful. What do you think it looks like? A sunset? An autumn tree leaf? Beautiful peacock feathers? Stay tuned to see what we come up with. We can't wait!
|